


Tubular and tubeless tyres have eliminated using inner tubes and also significantly reduced the tyre puncture risk, either it is pinch puncture or the one caused through thorns and debris lying on road. Tubeless tyres are often chosen over clincher tyre as they are more reliable and feel light in weight when attached with tubeless supportive wheels. There is a need of airtight rim in the tubeless tyres which removes the need of inert tubes and make up a light weight built up in comparisons to what standard clinchers have.
To install tubeless tyres:
Now you all would probably be wondering how to install tubeless tyres! Here is a mess- free, simple beginner’s guide for fitting up tubeless tyres:
What all you need
- A tubeless rim tape: Most of the standard wheel sets can get converted by using rim tape. It is important for the rims which are not tubeless ready for stopping any sort of sealant leakages from drill holes, thus preventing sticky mess. Many of the wheel manufacturers sell the rim strips to make their rims cover drill holes and spoke nipples.
- Tubeless tyres: You need tyres that are tubeless specific as the beading and sidewall over standard clinchers are not good enough in holding seal and shape against rim. This will be hard to fit and increase the risk of slipping the tyre while running with low psi or in any unfortunate tyre puncture.
- 2 tubeless valves: Always be sure while purchasing the valves that they must suit the rims. Most of the manufacturers believe in supplying tubeless valves themselves.
- Tyre sealant bottles: Choose among the most reliable options in the market to avoid any mistake.
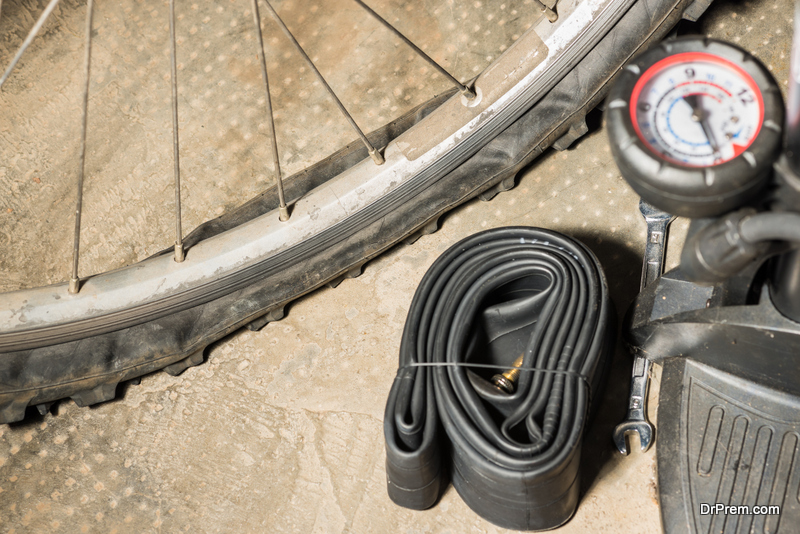
- Track pump: It is best to use track pumps which are tubeless specific having a pressurised preload to mount up the tubeless tyres.
- Top tip: Installing a tubeless tyre could be messy when you try it for the first time, so better to keep some old cloth or rags if any unwanted sealant spills or spray.
Beginner’s guide for preparing the wheels: If you have a standard wheel set containing drill holes to access spoke, you must first remove the old rim tape, tubes and tyres. Prepare a fresh rim using alcohol cleaner or soapy water to clean away grit and dust from internal surface of the rim. It is important that every contact point in the tyre and the rim tape are dry and squeaky clean for making a good seal.
1. Making rim airtight
To avoid escaping of air from drill holes of the rim, you must make it airtight. This can be done in two ways:
Rim tape: For applying rim tape, start with a spoke hole which is far away from valve hole. The rim tape must be taut. Start sticking the tape against rim, smooth up with cloth. Ensure that all the air bubbles are cleared out and all the holes must be covered for preventing sealant loss or air loss. Many manufacturers recommend double layered tape so as to make a secure seal round the rim. Once the tape is wrapped around rim, make use of a sharp tool for piercing hole in the tape where the valve sits.
Rim strips: This method is quite straight forward for those who use rim strips made by manufacturers. Stretch the strip of the rim and place it over the rim, ensuring to align the valve hole of the strip with the valve hole of the rim. Placing strip on the rim will help it keeping it taut ensuring that it is securely seated.
2. Fit half of the tyre and the valve
There are many ways of fitting a sealant and a tyre in a tubeless system. It is recommended to fit the tubeless valve at first and ensure that the valve’s rubber footing has a definite and firm seating against rim. While holding the valve at its place, make use of the lock ring of the valve for securing it. Fit half the tyre on rim and you will get ready for the next process.
If you are troubled in seating the new tubeless tyre on rim, it is good to inflate them using an inner tube so the beading and tyre seats and take up the shape correctly. Once you have done this, pry half the tyre off rim, remove inner tube and fit valve.
3. Seat the tyre and pour the sealant

Fit 3/4th of tyre on rim and leave the opening opposite to the valve. Ensure that the tyre is seated properly in the rim and the risk for any unwanted surprise is eliminated. Give a good shake to the sealant bottle and ensure that it is mixed well. Pour nearly 35ml in the rim and the opening of tyre bead. Rotate the wheel carefully so the sealant is moved away from opening. Fit the remaining tyre without any mess.