
Tinted car windows block upto 99% of the harmful ultraviolet rays, give you some privacy and enhance your car’s security as tinted cars are less likely to be burglarized. More importantly, it prevents the windows from shattering in case of an accident or window breakage, making your car safer.
Usually, there are two options to car window tinting – you either DIY or go for professional installation. With the latter, you must be ready to dig deep into your pocket, depending on the type of tint you choose for your car.
However, you can still tint your windows like a pro with only a few tips and guides below.
Here’s what you’ll need
- single-edged razor blade
- Window cleaning solution
- Lint-free cloth
- Sponge
- Squeegee
- Utility knife
- Window tint film
Step by step guide
1. Preparation
- First, you have to identify a clean and dust-free environment. You can choose to work indoors, maybe in your garage or find a clean and dry place outside to carry out the task.
- Once you have identified a perfect workspace, get your car ready. Remove any stickers or adhesives on the windows as they may get in your way and prevent the tint from sticking on the window.
- After that, vacuum your car to get rid of any dust particles. Use a gallon of soapy water to make your windows exceptionally clean. All the sides of the window must be clean so that the tint can stick well. Use a razor blade to scrape off any grime or dirt present on the window. Make sure to roll the window up and down while cleaning so that no part is left uncleaned. Also, if you have hydrophobic coatings on your window, you will need to remove them as well.
- Once you’ve cleaned and removed all the dirt on the windows, you have to dry them. Here, you will need a squeegee or a lint-free rag. The squeegee will remove all the water on the window while the lint-free cloth will dry the edges. Use your finger to remove any dirt or dust under the seal.
Note: Avoid using Windex or any cleaner with ammonia as it will turn your windows purple once you’re done with the tinting process.
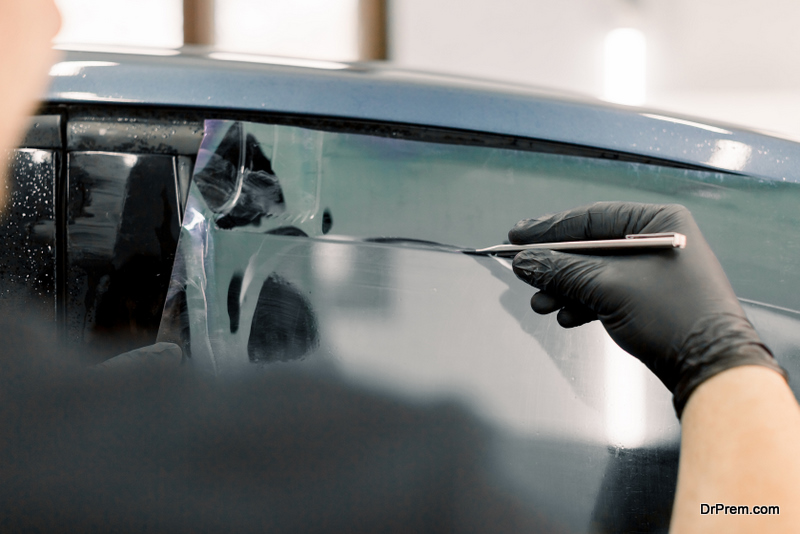
2. Measure and cut the film correctly
- First, you will need to identify the adhesive side of the film. Just like a sticker, the tint has a part that can be removed before being placed on the car window. When working with the tint, make sure that the adhesive side is facing you.
- After that, you will need to measure and cut the tint according to the size of the window.
- Wet the outside of the window with soapy water so that the tint can temporarily adhere. This makes it easier to fit the film on the car window as it can easily slide around.
- The film should be placed on the outside of the window to cover it entirely- make sure you place some extra inches of the film over the edges. During this stage, the liner (adhesive side) should always face you – but don’t remove it yet.
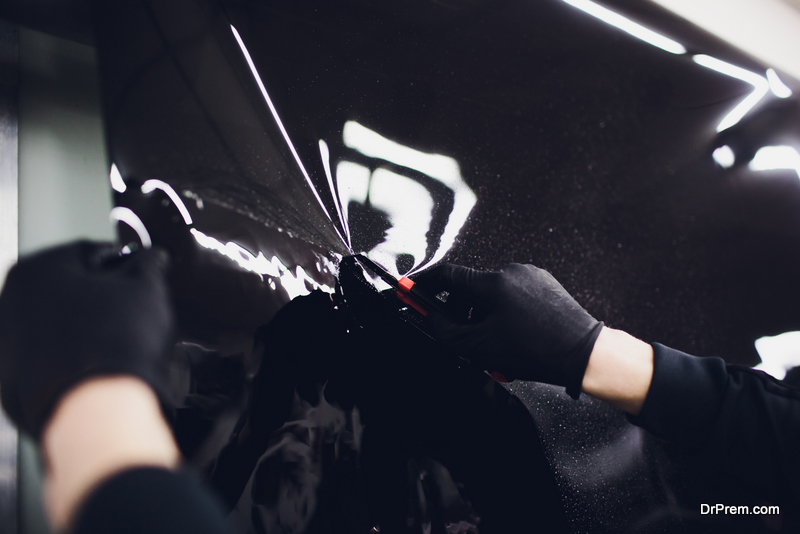
- Once you’ve positioned the film correctly, spray some soapy water on it and use a utility knife to cut it – one edge at a time. When you get to the top edge of the window, lower the window so that you shape the tint correctly.
3. Adhering the window tint
- Once you have shaped the window tint correctly, you can now peel off the liner. Note that the tint is placed on the inside and not the outside of the window.
- After you peel off the liner, spray the adhesive side with soapy water as you go. Again, the soapy water makes it easier to slide the tint as you apply it to your window.
- You will need to slightly roll down your window so that you can position and adhere the tint without much struggle. Once the tint is in position, use a squeegee to force out any water or air under it. There should be nothing left between the window and the tint. During this process, your hand should always be on the tint so that it does not move.
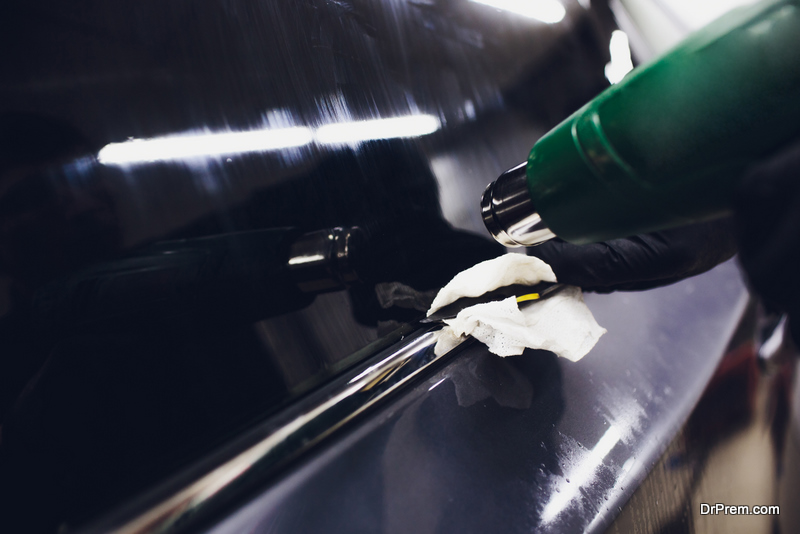
- After the film is positioned well on the window, please do not leave it wet. Use your lint-free cloth to cloak the squeegee and run it over the film to remove any soap or water. Use a heat card and heat gun to push air or bubbles trapped underneath the tint to the bottom.
- After that, take a sit and give yourself a tap on the back – you did it!
Bottom line
Tinting a car window is a daunting process, especially if you are doing it for the first time – you are likely to make some mistakes during the process. However, if you take your time to clean the windows, cut the tint correctly, and position it well on your window, the results will be worth it. Plus, the above guide has simplified everything for you.
Article Submitted By Community Writer