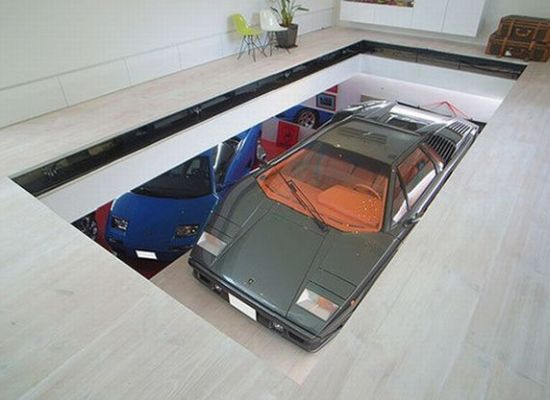

Getting your car detailed by professionals is such a great feeling. Your car looks like a million bucks. When it is done, you feel like you want to keep your car in the garage or under specially-made vehicle coverings by Car Covers to keep it in its pristine condition.
The next time that you take your car to get it washed and detailed, you will notice that it actually takes more time to conduct the detailing than it does to have the car washed. The truth behind it is in the “details” being complex in nature. But if you have the right products, detailing can even be completed in your own garage at home.
What is Meant by Detailing a Car?
Detailing can be a confusing word when interchanged with car washing. However, many similarities and differences exist between both of them.
When you think about it, auto detailing usually starts by washing the car and then vacuuming the interior. After that, you bring out the supplies and tools to start detailing in order for your car to have an in-depth cleaning. Having an in-depth cleaning like detailing could easily include having car parts removed in order to get to areas that have never been touched before.
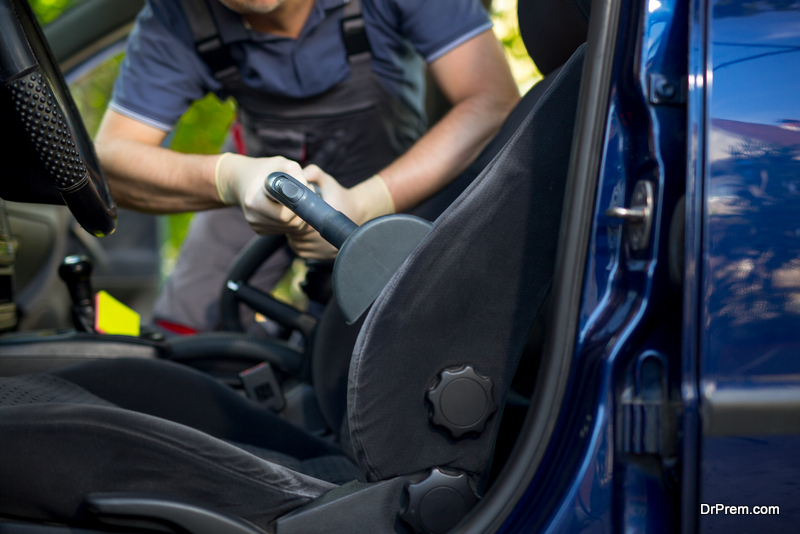
DIY Car Detailing From Home
If you are looking to conduct a DIY car detailing project, there are many supplies and tools that you will need. Besides these, you will also need to ensure that you have a few hours to spare. The amount of time required may differ based on the age of your car and the frequency of a detailing.
The Benefits of DIY Detailing
You may be wondering why do it yourself when you could have a professional do it, but what you do not realize is that there are many benefits of detailing your car yourself and these include:
- You will be proud to show off your car because it will look so great
- The amount of money saved should be enough to encourage you
- You won’t be wasting your time because after you’re done, you just need to maintain it
- You will become more appreciative in the work that you complete
- The time and effort that you put in will help your car last for many more years
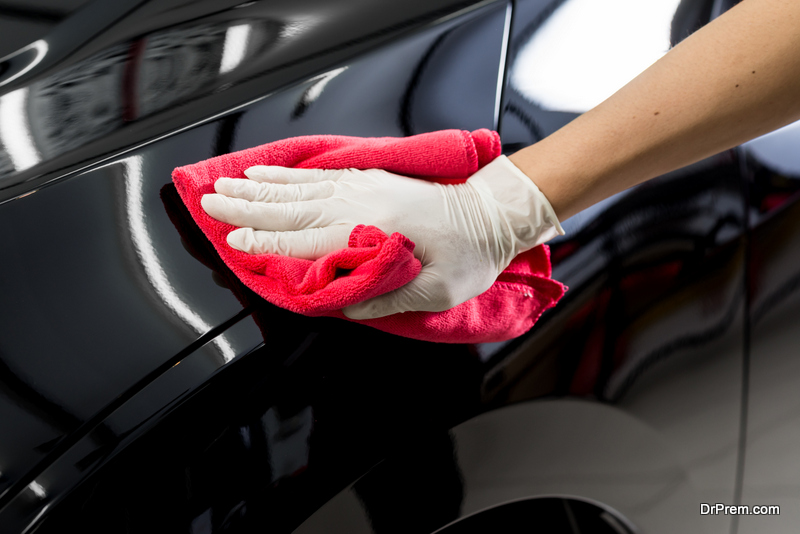
Car detailing that is done at home follows the same steps as what the pros follow even though the supplies and tools are different. When the interior is detailed you need to open the car doors and be able to climb all around inside. This will possibly make the exterior of your car very dirty. This is why it is a good idea to always start with the interior as the pros do. After the interiors finished, you just close the car windows and doors and begin on the exterior.
Products Used for Detailing the Interior
In order to begin your detailing project, you need to gather the products and tools that will be necessary to get the required detailing. If you want, you can even follow our tips on detailing.
First, you want to remove all of the trash from inside by using a garbage bag. Throw out those old wrappers and napkins and remove all of the coins that you find that cannot be vacuumed up. This includes your car glove box, change holders, cup holders, cubbies inside the doors, and all other console boxes.
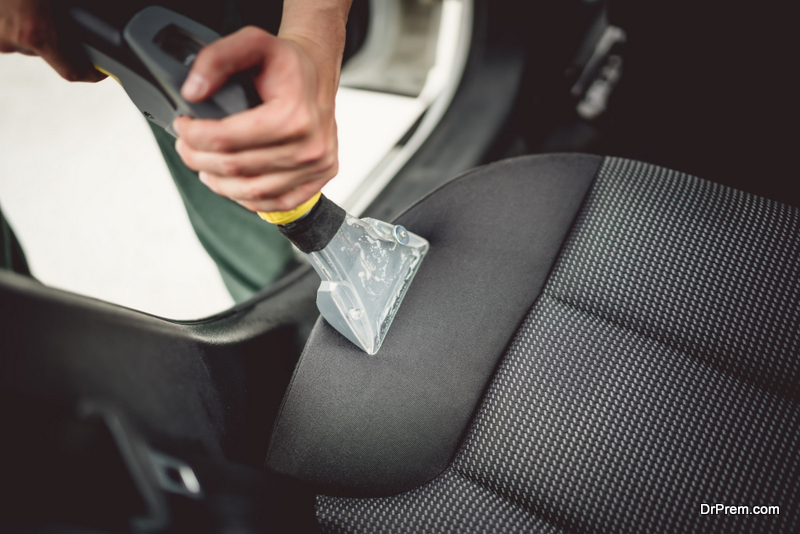
Take out the mats and set them aside to clean individually. When cleaning rubber mats, make sure to use soap and a brush that has stiff bristles. For carpeted mats, you should also use a stiff bristle brush along with cleaner that’s for upholstery. After cleaning and rinsing, let the mats hang to dry.
Eliminating Mystery Smells
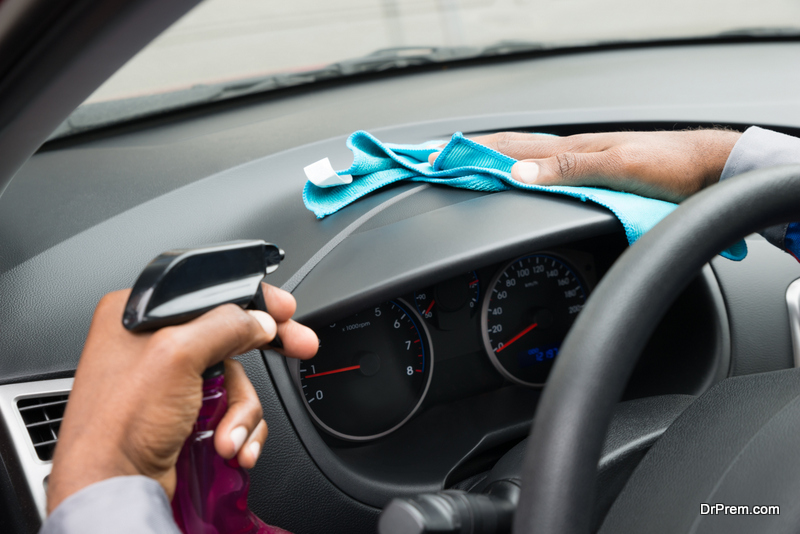
To start detailing, get a hold of a duster made of microfiber and begin dusting all of the surfaces of the interior, beginning from the top and working your way down. Make sure to get the seats, windows, rear deck, interior panels, headliner, door panels, center console, instrument cluster, and dash.
From here, sniff the inside and determine if it smells good or not. If a heavy smell is lingering, you need to treat the interior with an odor spray so that the smell can be eliminated. After spraying the odor eliminator, turn the fan on without the AC, then make sure that the windows and doors are closed and allow the odor eliminator to work for at least 20 minutes. Throughout these 20 minutes, the odor eliminator will permeate the entire interior so that a fresh, clean smell will be the only thing left behind.
Article Submitted By Community Writer